O-rings are essential components in many mechanical systems. They provide a seal between surfaces to help prevent leaks, contamination, and other types of failures. Installing these simple and versatile sealing solutions is a straightforward process. Still, it’s important to follow best practices and expert guidelines as you install an O-ring to maximize reliability and performance.
In this post, we’re sharing our step-by-step standard O-ring installation guide with helpful tips for success to help you get the most value from your seal investment.
Install an O-Ring Checklist
-
Select the correct size, material, and hardness
-
Clean O-ring and mating surfaces
-
Apply compatible lubricant
-
Install carefully without twisting or overstretching
-
Inspect and test for leaks
Step-by-Step O-Ring Installation: 5 Essential Best Practices
Step 1: How to Choose the Right O-Ring Size, Material, and Hardness
The initial step in O-ring installation involves ensuring that you have the right ring for the job. O-rings are available in a diverse array of sizes, materials, and hardness, with each type tailored to a specific application. Whether you require standard O-rings, miniature O-rings, or custom O-rings, here’s the essential information to consider when selecting the most suitable fit:
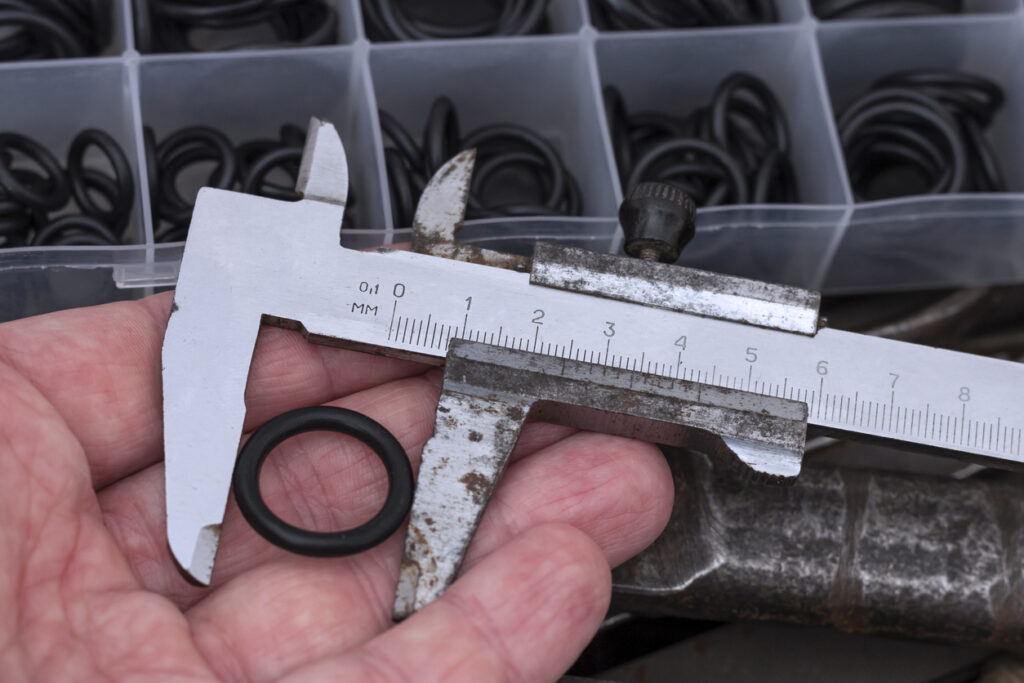
- Size: Using the right O-ring size for each assembly is critical. If it’s too small, the O-ring could tear or break. Alternatively, if an O-ring is too large, it won’t provide adequate sealing, making it essential to find the just-right-sized option for your application. O-ring sizing is often measured by its inner diameter (ID), outer diameter (OD), and cross-sectional diameter (CS). Visit our O-Ring Sizing Chart to find the best seal for you.
- Material: Each O-ring material has different properties that make it better suited for certain conditions, such as the temperature, fluid compatibility, and other conditions the seal will encounter. A few of the most common compounds include nitrile (buna n), ethylene propylene (EPDM), fluoroelastomer (FKM, Viton®), Neoprene®, silicone, perfluoroelastomer (FFKM), polyurethane, and aflas.
Learn more about the properties of these O-ring compounds on our website.
- Hardness: The hardness of the O-ring is another factor to consider when choosing the right fit for your application. Hardness represents resistance to compression and abrasion and is measured in durometer units. Most O-rings can be molded in a wide range of compounds in hardnesses from 40 to 95 Shore A.
Step 2: Why Cleaning Seals and Surfaces Prevents Seal Failure
Step 3: How to Lubricate O-Rings for Easier Installation and Longer Life
In most cases, you must apply lubricant before installing the O-ring. Lubricating the O-ring facilitates easier installation and reduces the risk of elastomer damage from tearing, twisting, pinching, cutting, and abrasions. Applying a thin film of lubrication to fill any gaps or spaces between the O-ring and the mated part helps the ring slide smoothly. Additionally, lubricant decreases the surface tension between the surfaces, allowing for a tighter fit. It’s important to note that when install an O-ring on a standard female gland, lubricant should be applied after positioning the O-ring.
The choice of lubricant depends on factors such as material, system fluid compatibility, and service temperature. One of our preferred suppliers, Parker, offers O-Lube and Super-O-Lube. Opt for O-Lube as a general-purpose grease for hydrocarbon service and service temperatures ranging from 20°F to 180°F (-29°C to 82°C). Alternatively, Parker recommends Super-O-Lube, a high-viscosity silicone oil, as an effective O-ring lubricant for service temperatures between -65°F to 400°F (-54°C to 204°C).
Step 4: How to Properly Install an Seal Without Twisting or Tearing
Now, let’s proceed with the O-ring installation. Start by placing the ring in the groove between the two surfaces, ensuring proper centering and alignment at both ends. Subsequently, carefully stretch the O-ring evenly over the surface, being mindful to avoid pulling from either side, twisting, or causing any damage. Exercise caution during stretching to prevent overstretching the O-ring beyond its maximum elongation, as this could result in breakage and tearing during assembly or use.
Once the O-ring is positioned, use a flat tool to press it into the groove until it is fully seated. If the installation is in a confined space, a tool with a smaller profile, such as a flat screwdriver, may be necessary to carefully position it. Instead of rolling, slide the O-ring down the shaft to prevent spiraling, thereby reducing the risk of leaks and contamination in the final assembly.
When dealing with O-rings paired with threaded parts, gently guide the O-rings over the threads to avoid tearing. To provide additional protection for the O-ring and threads, consider using lubricant and covering the threads with masking tape as a precautionary measure.
Step 5: How to Check Installations for Leaks
After installing the O-ring, make sure to seat it properly and check for leaks. For example, when installing an O-ring in a hydraulic system, run the system and inspect for leaks using UV dye. However, if you are installing an O-ring in another system, you might need to perform a different leak test.
Common O-Ring Installation Mistakes to Avoid
Even when following proper steps, small errors during installation can shorten the life of an O-ring or cause leaks. Here are some of the most common mistakes to watch out for:
-
Forcing O-rings over sharp edges: Sharp corners or threads can create tiny cuts that weaken the seal. Always protect edges or use lubrication and tape to reduce the risk of tearing.
-
Using the wrong lubricant: Not all lubricants are compatible with every O-ring material. Using an incompatible grease or oil can cause swelling, cracking, or premature failure.
-
Overstretching beyond material limits: O-rings are flexible, but pulling them too far can permanently deform or damage the material. Stretch evenly and only within the recommended range.
-
Installing in dirty or contaminated grooves: Even small particles of dust or debris can compromise the sealing surface. Always clean grooves and O-rings before installation.
-
Reusing worn or damaged O-rings: O-rings are inexpensive compared to the cost of downtime or equipment failure. Always use new O-rings rather than trying to reinstall used ones.
Get Expert Support for O-Ring Selection and Installation
We maintain an inventory of over 6,000 square feet of O-rings in various compounds and sizes available for same-day shipment. Our status as a trusted provider of O-ring sealing solutions is established through partnerships with leading seal manufacturers in the industry. Leveraging decades of expertise in material science and cutting-edge technologies, our team can provide clients with exceptional sealing solutions. Contact an engineer to explore the appropriate sealing solutions for your application or discuss how to install an o-ring.